ENEnglish
 LTLietuviškai
 DEDeutsch
 FRFrançais
 RUРусский
 ESEspañol
 PLPolski
 ITItaliano
 UKУкраїнська
 CSČeština
 PTPortuguês
 JA日本語
JA日本語 LVLatviešu valoda
 ETEesti
 HUMagyar
 IDBahasa Indonesia
 TRTürkçe
 HIहिन्दी
 ELΕλληνικά
 ARالعربية
 THไทย
THไทย VITiếng Việt
 RORomână
 MSBahasa Melayu
 BNবাংলা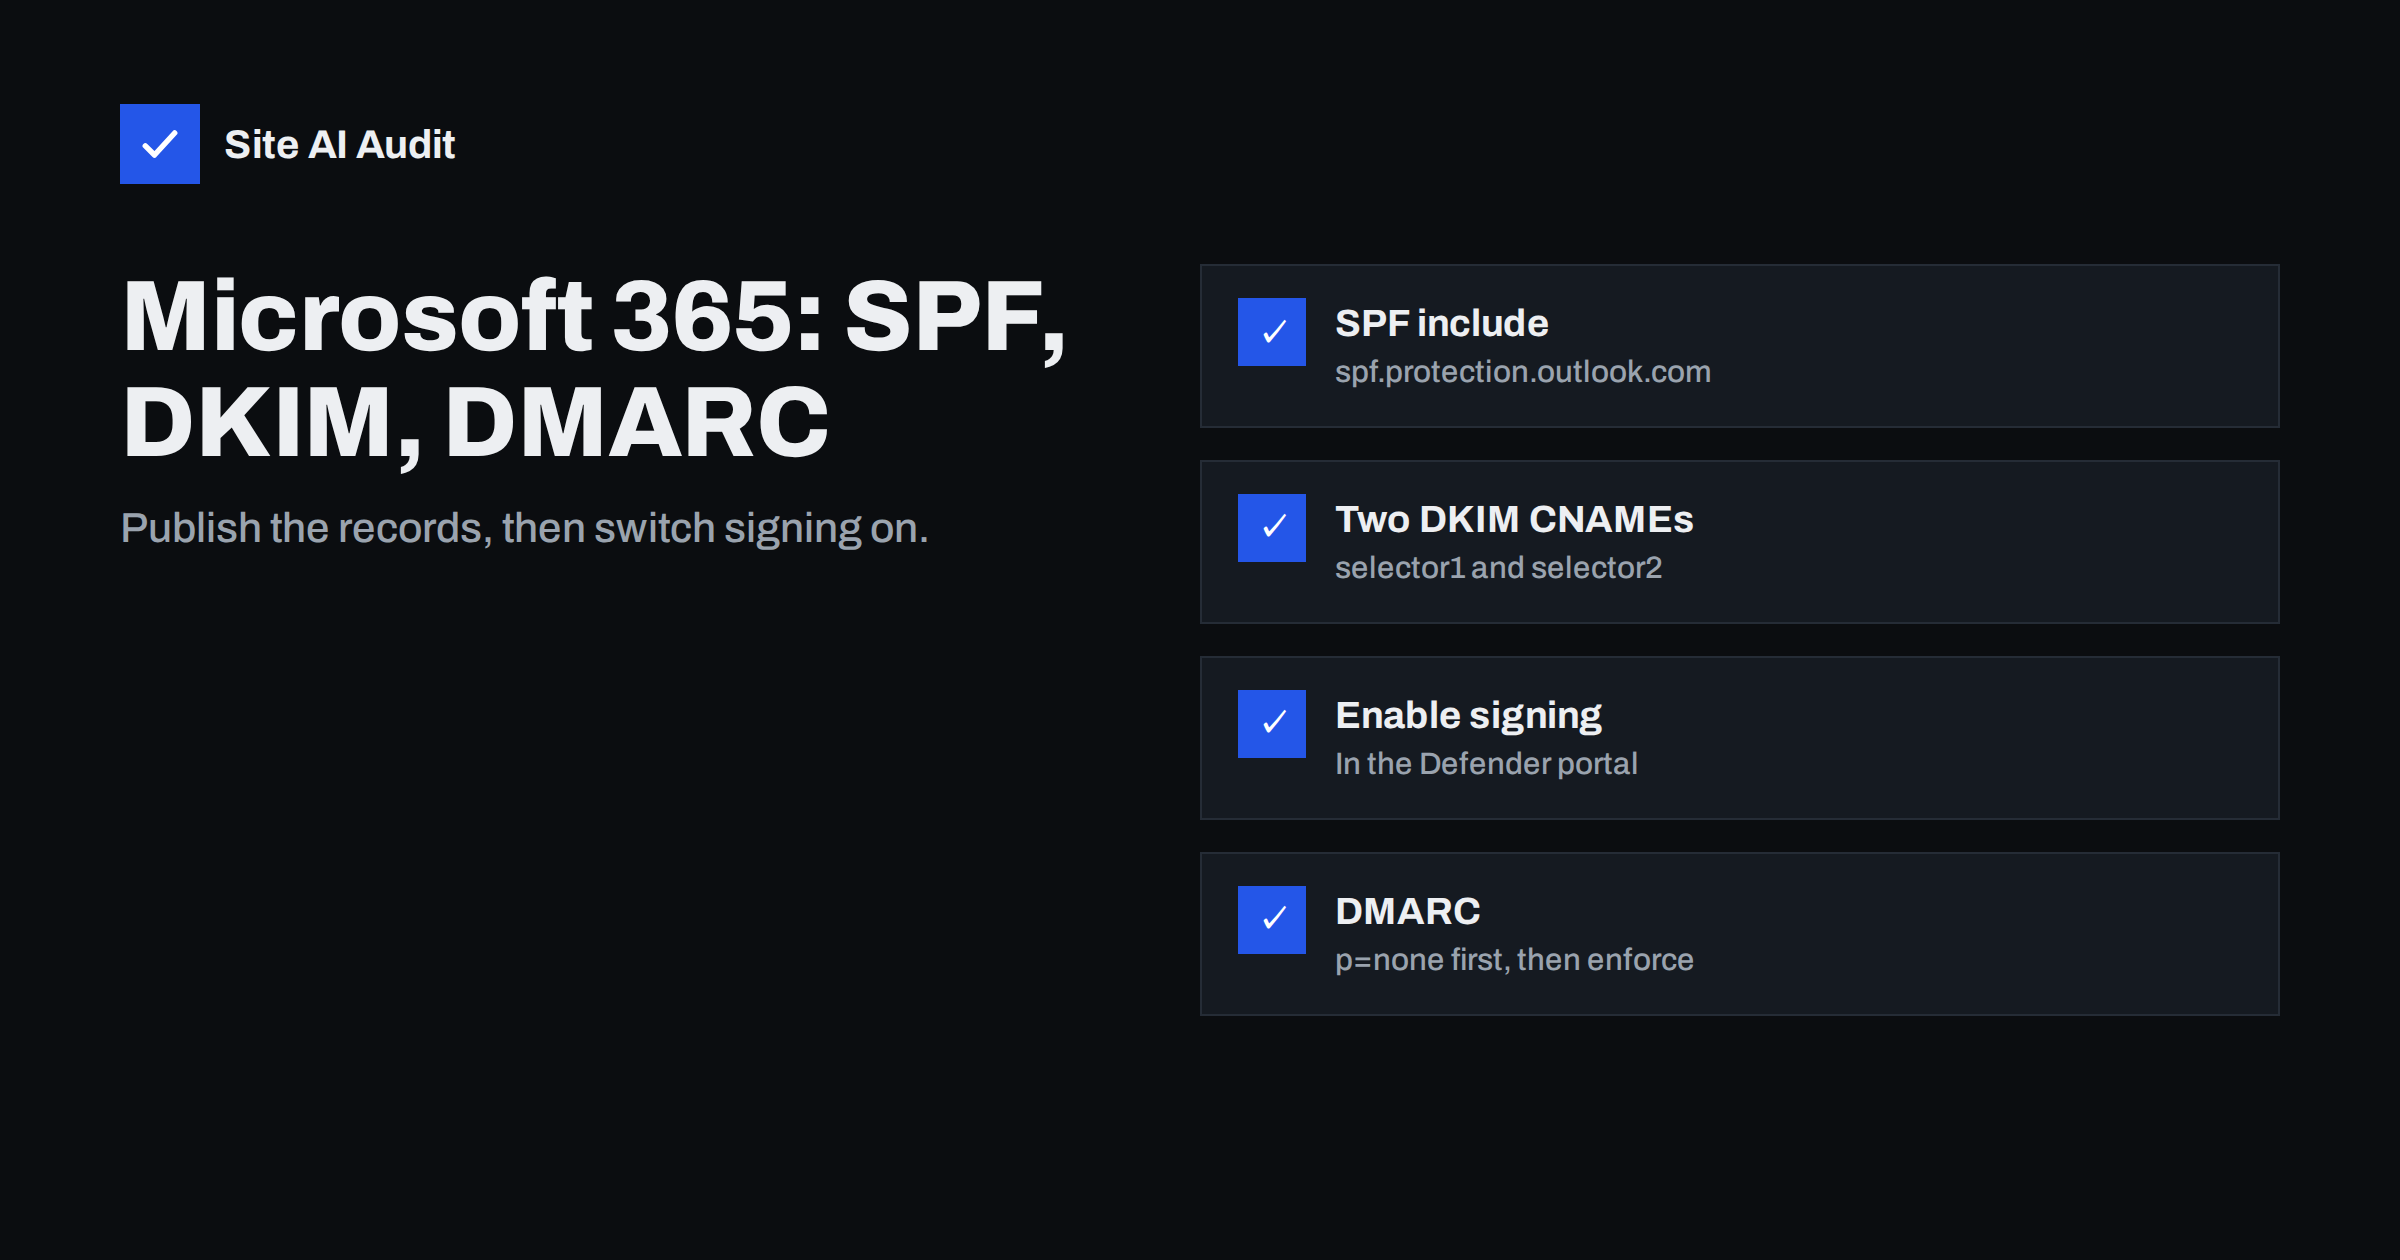
Short answer: For Microsoft 365, publish an SPF record containing include:spf.protection.outlook.com, create the two DKIM CNAME records (selector1._domainkey and selector2._domainkey) with the exact values shown for your domain in the Microsoft Defender portal, then enable DKIM signing for the domain there. Finally add a DMARC TXT record at _dmarc, start with p=none and a report address, and move to enforcement once reports are clean.
What Microsoft 365 does for you, and what it does not
When you add a custom domain to Microsoft 365, the setup wizard asks for MX, autodiscover and SPF records so that mail can flow and Outlook clients can find their settings. That is enough for mail to work, and many organisations stop there. Two important pieces are left for you: DKIM for your own domain and DMARC.
Without custom DKIM, Microsoft 365 signs outgoing mail with your initial onmicrosoft.com domain. The signature is valid, but it does not match the domain in your From address, so it does not count for DMARC alignment. DMARC then depends on SPF alone, which breaks when mail is forwarded. Without DMARC, there is no policy against spoofing and no reports about who sends mail with your domain.
You need two things for the work: an account with the right admin role in Microsoft 365 (Global Administrator or Security Administrator), and access to your domain’s DNS. If Microsoft manages your DNS, some records can be created automatically; most businesses host DNS elsewhere and add the records by hand.
Step 1: confirm MX and autodiscover
Check that incoming mail is routed to Exchange Online. The Microsoft 365 admin center, under Settings and Domains, shows the expected records for each domain and whether they are detected. The MX record points to a host under Microsoft’s mail protection service, and a CNAME for autodiscover points to autodiscover.outlook.com. Remove MX records left over from a previous provider; mixed MX records split incoming mail between systems.
The domain status page is also useful later. After you add SPF, DKIM and DMARC, it helps confirm that Microsoft sees the records you published.
Step 2: publish the SPF record
For a domain that sends mail only through Microsoft 365, the record is:
v=spf1 include:spf.protection.outlook.com -all
Microsoft’s own guidance commonly uses -all; many administrators choose ~all while DMARC is still at p=none. Either is acceptable once you are sure the record lists every sender. If other services send mail using your domain in the envelope sender, such as a website mail service or a marketing platform, add their includes to the same record. Keep one SPF record per domain, and stay within ten DNS lookups.
A special case is on-premises devices and applications that send through Microsoft 365. If they connect using the domain’s MX endpoint (direct send or an SMTP relay connector), the IP address of your office or server may need to be in SPF, depending on the method. Microsoft documents each option; choose authenticated submission where possible, because it keeps the mail within the protected infrastructure.
Step 3: publish the DKIM CNAME records
Microsoft 365 uses two DKIM selectors so that it can rotate keys without interruption: while one key signs, the other is prepared. You publish two CNAME records, and Microsoft hosts the actual keys.
- Open the Microsoft Defender portal and go to Email & collaboration > Policies & rules > Threat policies > Email authentication settings, then the DKIM tab.
- Select your custom domain. The details pane shows the two CNAME records to create, with host names
selector1._domainkeyandselector2._domainkeyand target values specific to your tenant and domain. - Copy the values exactly. The format of the targets has changed over time for new domains, so never copy them from an old tutorial or from another tenant.
- Create both CNAME records in your DNS panel. As with any DNS record, enter only the host part if the panel adds the domain automatically.
- Wait for the records to be visible, then check with
dig CNAME selector1._domainkey.yourdomain.com +short.
Step 4: enable DKIM signing
Publishing the CNAMEs is not enough. Back in the DKIM tab, select the domain and switch Sign messages for this domain with DKIM signatures to enabled. If the portal reports that the CNAME records cannot be found, wait for DNS to update and try again.
Once enabled, the status shows that DKIM is valid and signing. Outgoing mail now carries a signature with d=yourdomain.com. Microsoft rotates the keys between the two selectors, and you can also trigger a rotation from the same screen.
Repeat for every custom domain in the tenant, including domains used only for aliases or shared mailboxes. Each domain in a From address needs its own DKIM configuration to align.
Step 5: publish DMARC
Create a TXT record at _dmarc:
v=DMARC1; p=none; rua=mailto:[email protected]
Make sure the reporting mailbox exists and accepts external mail. If you use a shared mailbox or a Microsoft 365 group, check that external senders are allowed, or reports will bounce. After a few weeks of reports, fix any service that still fails alignment and move to p=quarantine and then p=reject.
Microsoft 365 also honours DMARC policies of other domains on incoming mail. You can configure how Exchange Online treats messages that fail a sender’s reject or quarantine policy in the anti-phishing policy, which is worth reviewing while you are in the Defender portal.
Step 6: verify real messages
- Send from an Outlook mailbox in your tenant to an external Gmail address and an Outlook.com address.
- In Gmail, open the message and use Show original. SPF, DKIM and DMARC should all show PASS, with DKIM for your domain.
- In Outlook on the web, you can view message details (headers) and look for
Authentication-Resultswithspf=pass,dkim=passanddmarc=pass action=none. - If DKIM shows
header.d=with an onmicrosoft.com domain, signing is not enabled for your custom domain yet.
Frequent problems in Microsoft 365 setups
| Problem | Cause | Fix |
|---|---|---|
| DKIM passes with onmicrosoft.com | Custom DKIM not enabled | Publish both CNAMEs and enable signing in the Defender portal |
| Portal says CNAME records not found | DNS not updated yet, or host name entered with the domain twice | Wait for TTL, check the exact name with dig |
| Scanner or app mail fails SPF | Device sends from an office IP not in SPF | Use authenticated submission, or add the static IP to SPF |
| DMARC reports never arrive | Report mailbox rejects external mail | Allow external senders for the mailbox or group |
| Newsletter fails DMARC | Marketing tool signs with its own domain | Configure custom domain DKIM in that tool |
| Secondary domain unprotected | Only the primary domain was configured | Repeat SPF, DKIM and DMARC for each domain |
Keeping the setup healthy
E-mail authentication tends to break quietly: someone moves DNS to a new provider and forgets the DKIM CNAMEs, or a new marketing tool is added without authentication. Keep a short document listing every record and every sending service, and review DMARC reports regularly.
A simple routine works well for most small and mid-sized tenants:
- After any DNS change, check that the MX, SPF, both DKIM CNAMEs and the DMARC record still resolve, and that the Defender portal still shows DKIM as valid.
- Before adding a new tool that sends mail as your domain, plan its DKIM setup and decide whether it needs an SPF include at all.
- Monthly, skim DMARC reports for new sources and for failures from services you know.
- When staff leave, review forwarding rules and connectors they created; forgotten rules are a common path for data leaks and odd authentication results.
Site AI Audit checks a domain’s SPF (including the lookup limit), DKIM, DMARC and MX records from the outside and reports problems in plain words, together with the website’s SSL, security headers, speed and SEO. A free check confirms the published state; paid plans on the pricing page repeat the checks and alert you when a record disappears or changes.
Related reading
- Google Workspace SPF, DKIM and DMARC Setup, Step by Step
- DMARC Explained: Policies, Alignment and a Safe Rollout
- How to Read DMARC Aggregate Reports Without Getting Lost
The bottom line
Microsoft 365 gets mail flowing with MX and SPF, but authentication is not complete until DKIM is enabled for your own domain and DMARC is published. Create both DKIM CNAMEs with the exact values from the Defender portal, switch signing on, add DMARC with reports, verify real messages, and repeat for every domain in the tenant.
FAQ
What is the SPF include for Microsoft 365?
The include is include:spf.protection.outlook.com. A domain that sends only through Microsoft 365 can use v=spf1 include:spf.protection.outlook.com -all or the softer ~all.
Why does Microsoft 365 use two DKIM records?
The two selectors allow key rotation without downtime. Microsoft signs with one key while the other is ready, and switches between them when keys are rotated.
Where do I enable DKIM in Microsoft 365?
In the Microsoft Defender portal under Email and collaboration, Policies and rules, Threat policies, Email authentication settings, on the DKIM tab. Select the domain and enable signing after the CNAME records are published.
Is DKIM enabled by default in Microsoft 365?
Microsoft signs outgoing mail with the initial onmicrosoft.com domain by default. That signature does not align with your custom domain, so you must enable DKIM for each custom domain yourself.
Can I copy DKIM CNAME values from another guide?
No. The target values are specific to your tenant and domain, and the format has changed over time. Always copy them from your own Defender portal.
Does Microsoft 365 create the DMARC record for me?
No, unless Microsoft hosts your DNS and you add it there yourself. You publish the DMARC TXT record at _dmarc in your DNS, starting with p=none and a report address.