ENEnglish
 LTLietuviškai
 DEDeutsch
 FRFrançais
 RUРусский
 ESEspañol
 PLPolski
 ITItaliano
 UKУкраїнська
 CSČeština
 PTPortuguês
 JA日本語
JA日本語 LVLatviešu valoda
 ETEesti
 HUMagyar
 IDBahasa Indonesia
 TRTürkçe
 HIहिन्दी
 ELΕλληνικά
 ARالعربية
 THไทย
THไทย VITiếng Việt
 RORomână
 MSBahasa Melayu
 BNবাংলা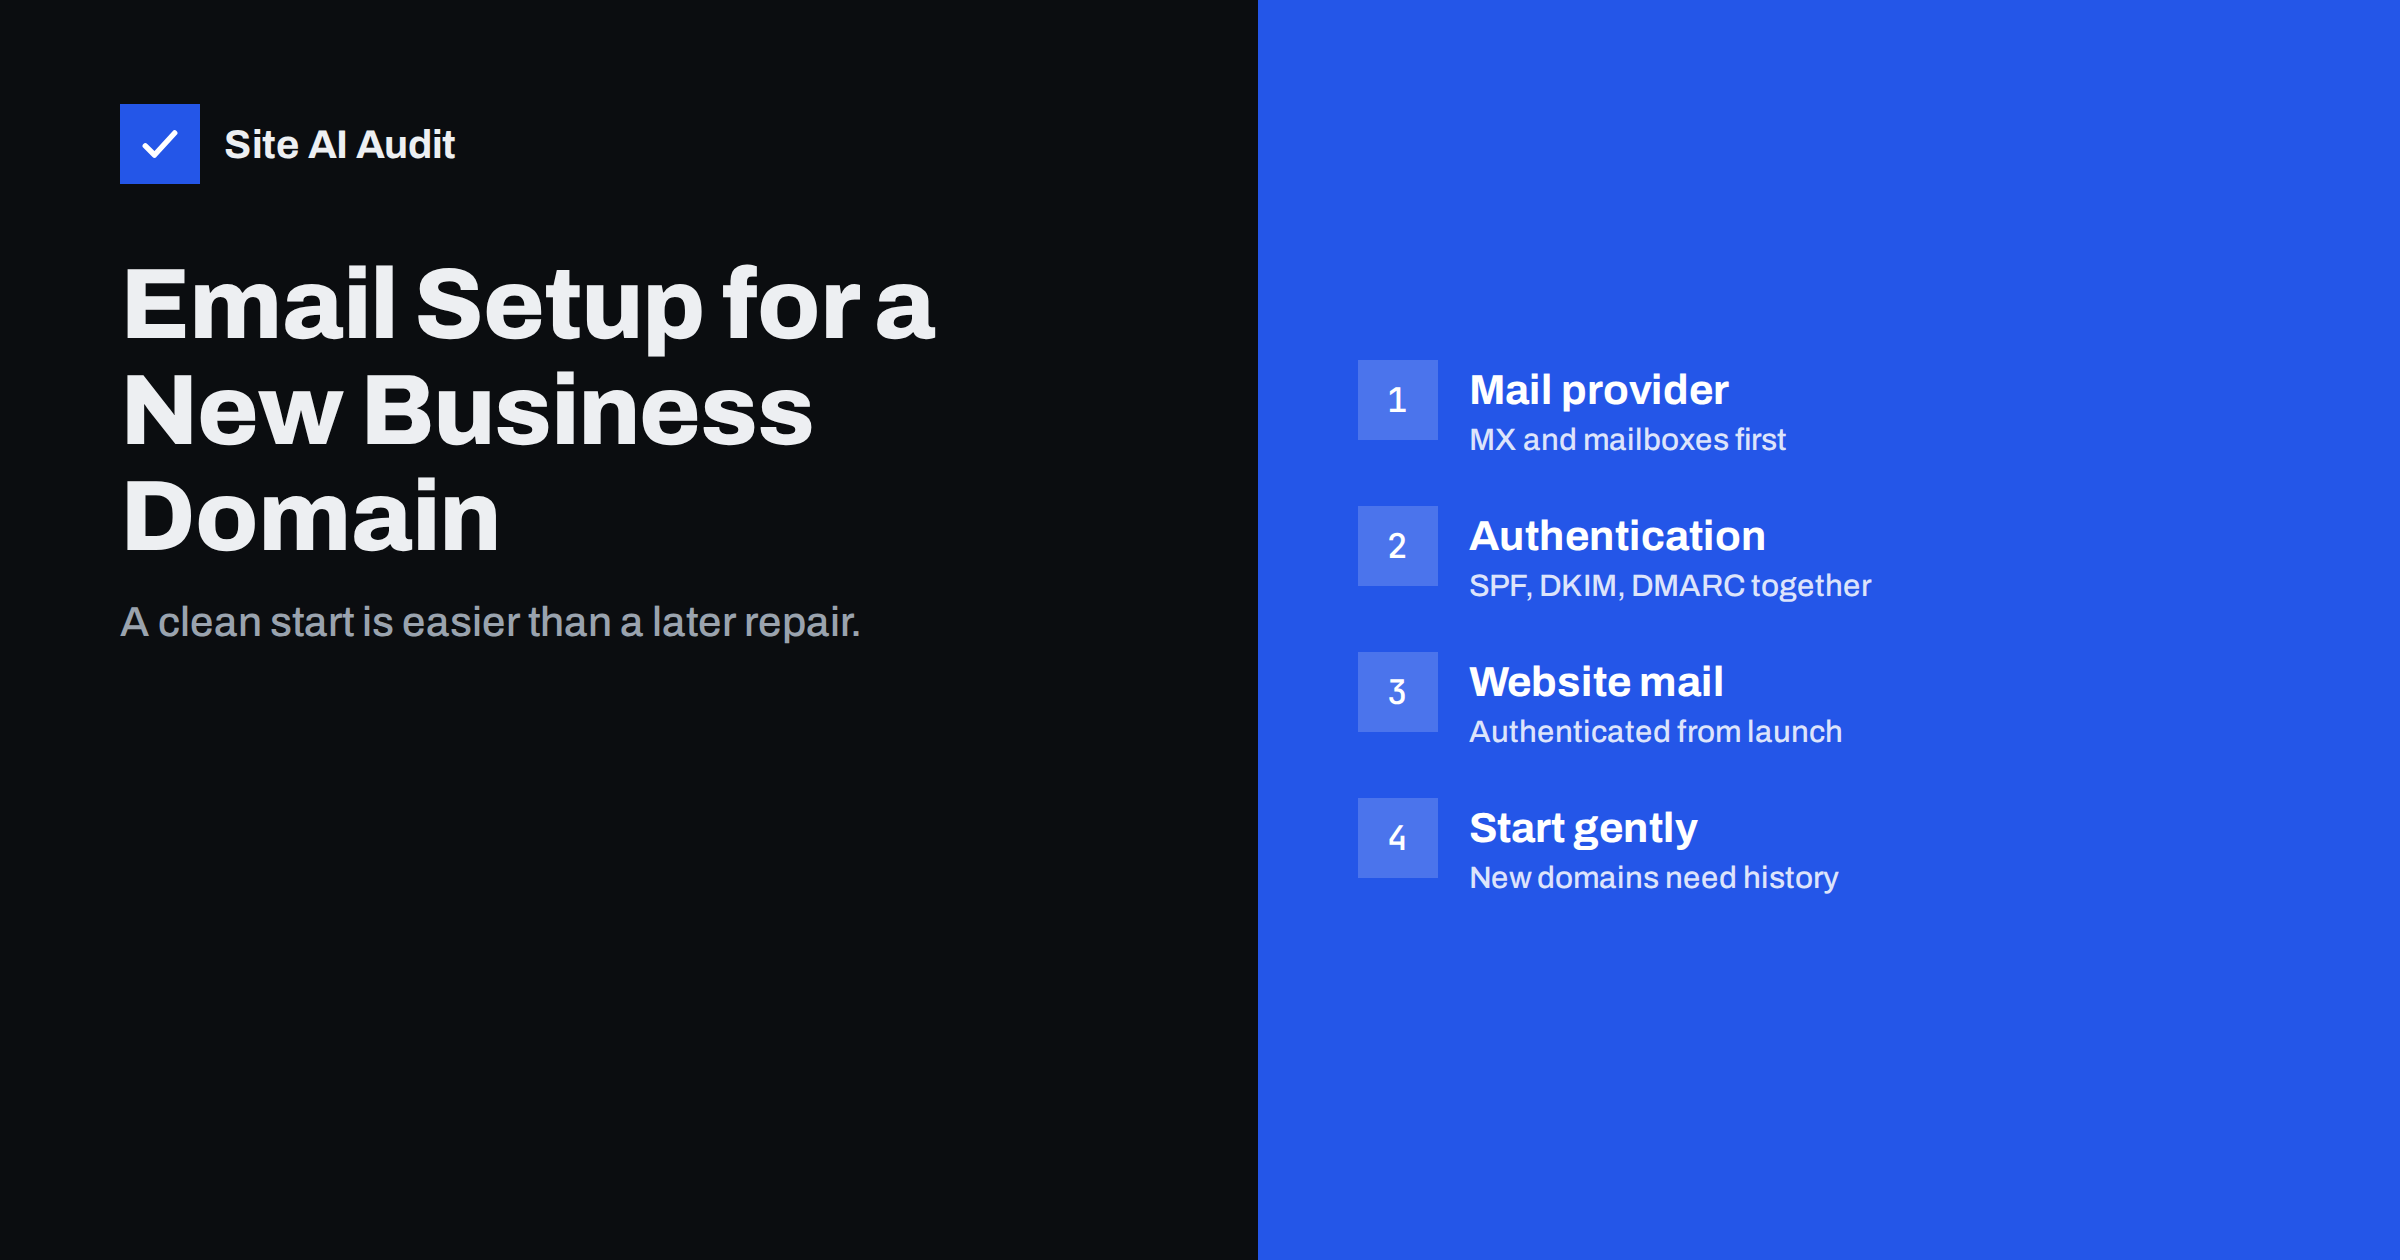
Short answer: For a new business domain, choose a reputable mail provider, point MX records to it, then publish SPF, enable DKIM signing with your own domain and add a DMARC record with a report address before you send any real mail. Make the website send its notifications through an authenticated service from launch, register only the tools you need, and start sending gradually, because a brand-new domain has no reputation yet. Doing this on day one avoids months of spam-folder problems later.
Why the first weeks matter
A new domain is a blank page for mailbox providers. It has no history of wanted or unwanted mail, and new domains are, statistically, often used by spammers who register fresh names to escape blocklists. That makes filters cautious. The first messages your business sends are evaluated with more scrutiny than the same messages would get from an established domain.
That caution is easy to satisfy if the technical setup is right and your first mail goes to people who expect it. It is hard to overcome if the domain starts life unauthenticated, sends from a website server, or launches with a large campaign to a list imported from somewhere else.
Setting everything up at the start also costs less. There are no existing tools to reconfigure, no old records to clean up, and no customers already used to your messages landing in spam.
Step 1: choose a mail provider and set up MX
Choose based on what your team already uses for documents and calendars, the admin tools you are comfortable with, data location requirements in your country, and support. Deliverability is rarely the deciding factor among the large, reputable providers, because all of them maintain good infrastructure; what matters more is that you complete the authentication steps they offer.
Use a business mail service, such as Google Workspace, Microsoft 365 or a reputable host’s mail service, rather than running your own server. Professional providers handle reverse DNS, TLS, spam filtering and server reputation for you.
- Verify the domain with the provider, usually with a TXT record.
- Create mailboxes, and shared addresses such as
info@orbilling@as groups or aliases. - Publish the provider’s MX records exactly as documented, and no others.
- Test by sending a message from an external account to each new address.
Step 2: publish SPF, DKIM and DMARC together
- SPF: one TXT record with the provider’s include, for example
v=spf1 include:_spf.google.com ~allfor Google Workspace orv=spf1 include:spf.protection.outlook.com ~allfor Microsoft 365. - DKIM: generate the key in the provider’s admin console, publish the record it gives you and switch signing on. Confirm that messages are signed with your domain, not the provider’s default domain.
- DMARC: a TXT record at
_dmarc, such asv=DMARC1; p=none; rua=mailto:[email protected], with a mailbox or service that receives the reports.
Then send a test to a Gmail address and check “Show original”: SPF, DKIM and DMARC should all show PASS. Because a new domain has few senders, you can often move DMARC to p=quarantine and then p=reject within weeks rather than months, once reports confirm that every sending tool is aligned.
Step 3: make the website send mail properly
New websites often go live with contact forms and shop notifications sending directly from the web server. That mail is unauthenticated and frequently lands in spam or disappears. Before launch:
- configure the site to send through authenticated SMTP with your mail provider, or through a transactional mail service with DKIM for your domain;
- use a From address on your domain, such as
[email protected], and put the visitor’s address in Reply-To; - test every flow with an external address: contact form, account registration, password reset, order confirmation;
- disable outgoing mail on staging copies of the site.
Step 4: add other tools deliberately
A new business quickly adds tools: a newsletter platform, an invoicing app, a booking system, a CRM. For each one that sends mail as your domain:
- set up custom domain authentication (DKIM, and a return-path subdomain if offered) before the first real send;
- add an SPF include only if the tool’s documentation requires it for the root domain;
- send a test and check the headers;
- write the tool, its DNS records and its owner into a simple inventory.
Resist the temptation to try many tools at once during the first months. Every tool that sends as your domain is another set of records to publish, another potential failure, and another entry to remove later if you stop using it. Adding tools one at a time, each properly authenticated, keeps the setup understandable.
Consider using a subdomain such as news.yourdomain.com for newsletters from the start, so marketing and everyday mail have separate reputations.
Step 5: protect the domains you are not using
Many new businesses register several domains: country versions, spelling variants, a shorter alias. Lock down every domain that will not send mail with v=spf1 -all, a DMARC record of p=reject and, if it receives no mail, a null MX record. It takes minutes and prevents criminals from using those names to impersonate you.
Secure the registrar account as well, with two-factor authentication and the domains registered in the company’s name rather than a personal account.
Step 6: start sending gradually
| Phase | What to send | Why |
|---|---|---|
| First weeks | Everyday correspondence, transactional mail, welcome messages to new sign-ups | Expected mail builds positive history |
| Next weeks | Small newsletters to confirmed subscribers | Engaged audiences build reputation |
| Later | Larger campaigns, growing gradually | Avoids sudden volume spikes from a new domain |
There is no need to be anxious about ordinary business use. Replying to customers, sending quotes and invoices, and confirming orders are exactly the kind of mail that builds a good reputation, because recipients expect and engage with it.
Collect newsletter subscribers with confirmed opt-in from the beginning, and never import bought lists or contacts who did not agree to hear from you. The first campaigns shape the domain’s reputation more than any later ones.
Choosing addresses and names
Small decisions at the start shape how recognisable and trustworthy your mail looks for years:
- Use personal addresses for people (
[email protected]) and role addresses for functions (billing@,support@). Role addresses survive staff changes, which keeps customer conversations and invoices flowing when someone leaves. - Pick a consistent From name for automated mail, such as “Your Company” or “Your Company Orders”, and use it in every tool.
- Avoid no-reply addresses where customers might answer. Replies to a dead address frustrate people and waste a positive engagement signal.
- Decide early which address sends invoices and tell customers, so they recognise genuine payment requests and can spot fake ones.
- Keep the domain in every address the same as the website domain customers know. Mail from an unrelated-looking domain invites suspicion and complaints.
Also set up a proper e-mail signature with your company name, website and phone number. It helps recipients verify you and gives them a way to call if a message looks unusual, which becomes important if criminals ever try to imitate your invoices.
Step 7: keep it working
Setups break when things change: a website rebuild, a DNS move, a new tool, a staff member leaving. Build three habits early:
- Test mail after every change to DNS, hosting or sending tools.
- Read DMARC report summaries monthly for unknown or failing sources.
- Monitor the records so that a missing DKIM key or a broken SPF record is noticed before customers are affected.
Site AI Audit checks a new domain’s website and e-mail in one report: SEO, speed, SSL and security headers, plus SPF with its lookup limit, DKIM, DMARC and MX records, with every finding explained in plain words and ranked by impact. A free check is a good final step before launch; paid plans on the pricing page keep checking and alert you when something breaks.
Related reading
- Google Workspace SPF, DKIM and DMARC Setup, Step by Step
- Microsoft 365 Email Authentication: SPF, DKIM and DMARC Setup
- How to Warm Up a New Email Domain or IP Address Safely
- Email Deliverability Checklist: 20 Checks for Small Businesses
The bottom line
A new domain gets one chance at a clean start. Set up MX with a reputable provider, publish SPF, DKIM and DMARC before sending real mail, make the website and every tool authenticate with your domain, lock down unused domains and grow sending gradually. Then keep testing after changes, and the domain will build a good reputation instead of fighting a bad one.
BUJ
What e-mail records does a new domain need?
MX records for your mail provider, one SPF record, a DKIM key for each sending service and a DMARC record. Domains that will not send mail need SPF -all, DMARC reject and ideally a null MX.
Why do e-mails from a new domain go to spam?
New domains have no sending history, so filters are cautious. Missing authentication or large first sends make it worse. Authenticate fully and start with expected, low-volume mail.
Can I start DMARC at p=reject on a new domain?
It is possible if every sender is already aligned, but starting with p=none and reports for a few weeks is safer, then moving to quarantine and reject.
Should a new business run its own mail server?
Usually not. Hosted business mail providers handle security, reputation, spam filtering and maintenance far more reliably than a self-managed server.
How should the website send e-mails?
Through authenticated SMTP with your mail provider or a transactional mail service with DKIM for your domain, never directly from the web server.
When can a new domain send newsletters?
After authentication is confirmed and everyday mail has built some history, start with small sends to confirmed subscribers and grow gradually.