ENEnglish
 LTLietuviškai
 DEDeutsch
 FRFrançais
 RUРусский
 ESEspañol
 PLPolski
 ITItaliano
 UKУкраїнська
 CSČeština
 PTPortuguês
 JA日本語
JA日本語 LVLatviešu valoda
 ETEesti
 HUMagyar
 IDBahasa Indonesia
 TRTürkçe
 HIहिन्दी
 ELΕλληνικά
 ARالعربية
 THไทย
THไทย VITiếng Việt
 RORomână
 MSBahasa Melayu
 BNবাংলা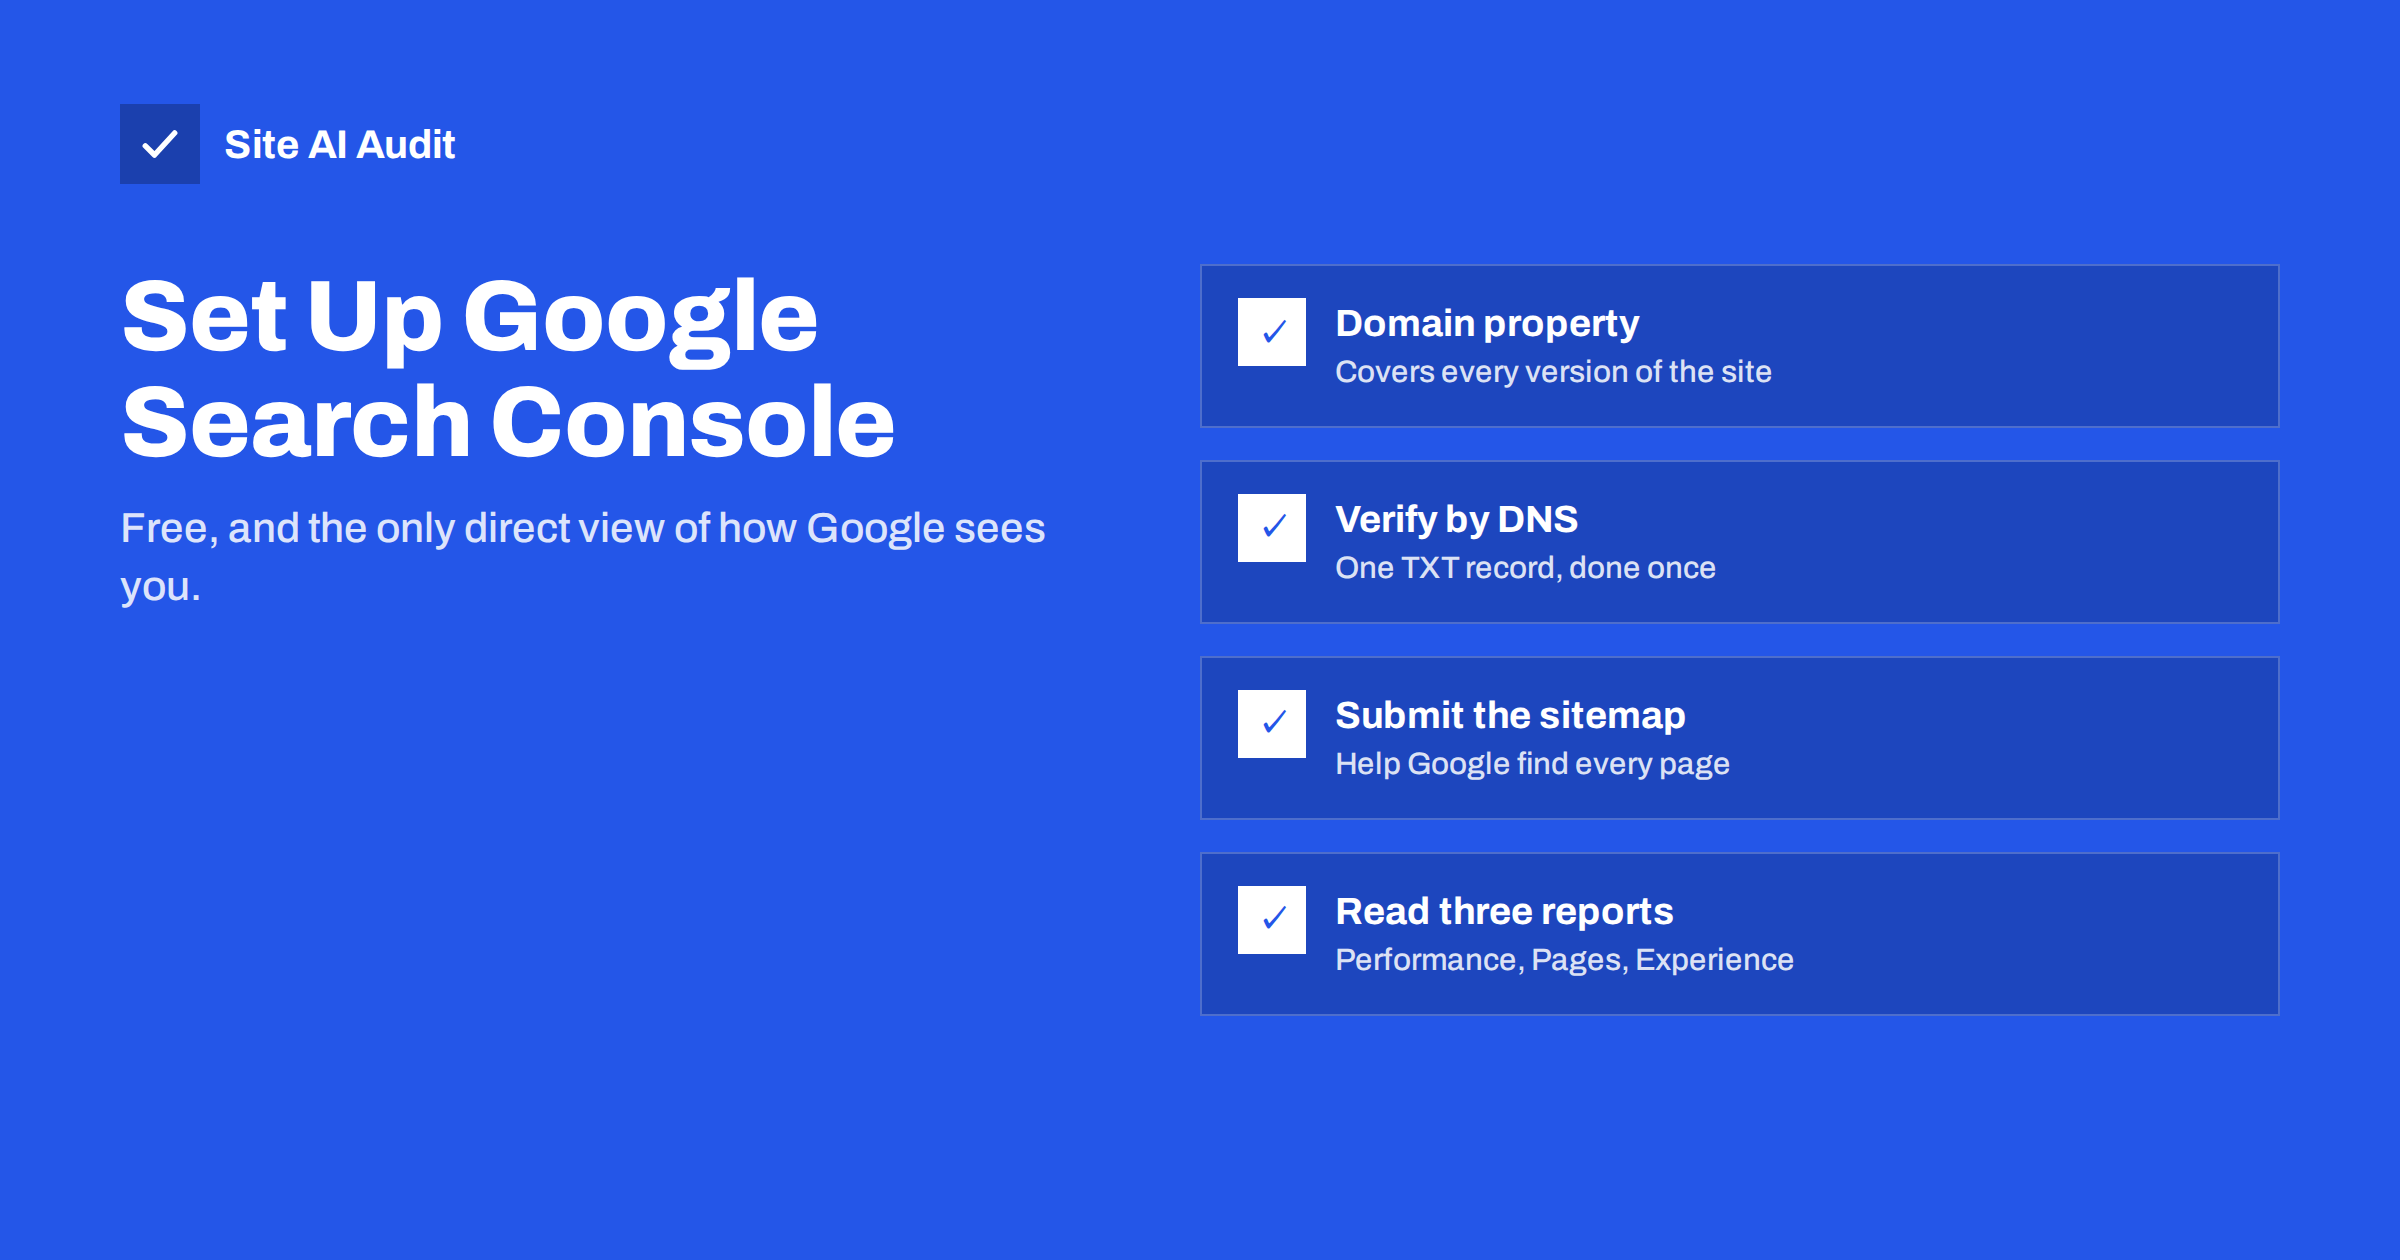
Short answer: Google Search Console is Google’s free tool for site owners. To set it up, sign in with a Google account, add your site as a Domain property, verify ownership by adding a TXT record at your DNS provider, and submit your XML sitemap. After a few days, the Performance, Page indexing and Experience reports show how people find you in Google and which pages have problems.
What Search Console is and why you need it
Search Console is the one place where Google tells you directly how it sees your website. Analytics tools show what visitors do after they arrive. Search Console shows what happens before: which searches your pages appear for, how often they are shown, how often people click, and which pages Google cannot or will not index.
For a small business, it answers practical questions:
- Which searches bring people to my website?
- Is my new service page in Google yet?
- Why did traffic drop last month?
- Are there errors that keep pages out of search?
- Has Google flagged my site for security problems or spam?
It costs nothing, it does not slow your site down, and it only collects data from the day it is set up, so the sooner you add your site, the more history you will have when you need it.
Step 1: Choose the right property type
When you add a site, Search Console offers two property types:
| Domain property | URL-prefix property | |
|---|---|---|
| Example | example.com | https://www.example.com/ |
| What it covers | All subdomains and both HTTP and HTTPS | Only URLs starting with that exact prefix |
| Verification | DNS record only | Several methods, including HTML file, meta tag or analytics |
| Best for | Most businesses: one view of everything | When you cannot edit DNS, or want a view of one section |
Choose a Domain property whenever you can. It gathers data from www and non-www, http and https, and any subdomains such as shop.example.com, so nothing falls between the cracks. You can add URL-prefix properties later for specific sections if you want separate reports.
Step 2: Verify that you own the site
Google needs proof that you control the domain before it shows you data. For a Domain property, verification works through DNS:
- Search Console shows a TXT record that starts with
google-site-verification=. Copy it. - Log in to the service that manages your domain’s DNS. This is usually your domain registrar, your hosting company or a DNS service such as a CDN provider.
- Add a new record of type TXT. For the host or name field, use
@or leave it empty, depending on your provider, which means the root domain. Paste the value. - Save, go back to Search Console and click Verify. DNS changes often work within minutes, but can take up to a day or two to be visible everywhere.
Keep the TXT record in place permanently. Search Console checks it periodically, and removing it removes your access. If you cannot edit DNS, create a URL-prefix property instead and verify with an HTML file upload, a meta tag in your site’s header, or an existing analytics tag.
If someone else, such as your web agency, already verified the site, ask them to add you as an owner or full user under Settings, Users and permissions rather than creating a separate verification. The business should always have at least one owner account it controls itself, not only the agency.
Step 3: Submit your XML sitemap
Open the Sitemaps report and enter the address of your sitemap, for example sitemap.xml, sitemap_index.xml or wp-sitemap.xml, then press Submit. If you are not sure where your sitemap is, open your robots.txt file at /robots.txt; it often lists the sitemap address.
After Google processes it, the report shows the status and how many URLs were discovered. A sitemap is not required for indexing, but it helps Google find all your pages and lets you filter the indexing reports by sitemap, which is useful for spotting which sections have problems.
Step 4: Give it a few days, then read the key reports
Data starts appearing within a few days of verification. Search Console has many reports, but three matter most for a small business.
Performance. This shows searches (queries), pages, countries and devices, with four metrics:
- Impressions: how many times your pages were shown in results;
- Clicks: how many times people clicked through;
- CTR: clicks divided by impressions;
- Average position: the typical ranking position, averaged across all searches.
Look at the Queries tab to learn the words people really use to find you. They often differ from the words you use internally. Pages with many impressions but few clicks may need clearer titles and descriptions.
Page indexing. This report splits your URLs into indexed and not indexed, with a reason for each group, such as “Excluded by ‘noindex’ tag”, “Not found (404)”, “Page with redirect” or “Crawled – currently not indexed”. Not every non-indexed URL is a problem; redirects and intentional noindex pages belong there. Look for important pages in the wrong group.
Experience. This includes Core Web Vitals, based on real-user data from Chrome, and HTTPS status. It shows whether groups of pages are considered good, in need of improvement or poor on mobile and desktop. Small sites with little traffic may not have enough data to show anything here.
Step 5: Learn the URL Inspection tool
At the top of every Search Console screen is a search bar. Paste any URL from your site to see:
- whether the page is on Google;
- when it was last crawled;
- which canonical URL you declared and which one Google selected;
- whether it is blocked by robots.txt or noindex;
- a live test showing how Googlebot sees the page right now, including a screenshot.
After publishing a new page or fixing an important one, use “Request indexing” to ask Google to crawl it sooner. It is a request, not a guarantee, and it has a daily limit, so save it for pages that matter.
Step 6: Set up alerts and permissions
Search Console sends e-mail notifications for serious issues, such as a sudden rise in indexing errors, security problems or manual actions. Make sure they reach someone who reads them:
- Under Settings, Users and permissions, add the people who need access. Give “Full” access to people who work on the site and “Restricted” access to those who only need to view reports.
- Check the e-mail preferences in your Google account so Search Console messages are not turned off.
- When an agency or freelancer stops working with you, remove their access.
It is also worth adding your site to Bing Webmaster Tools. It can import your settings from Search Console in a few clicks and covers Bing search, which also supplies results to several other services.
Common setup mistakes
- Adding only one URL version. A URL-prefix property for
http://example.comshows almost nothing if your site actually runs onhttps://www.example.com. A Domain property avoids this. - Removing the verification record. Cleaning up DNS or changing hosting can delete the TXT record and remove access.
- Only the agency owns the property. If the relationship ends, the business loses its history. Always keep your own owner account.
- Panicking about “not indexed” numbers. Redirects, noindex pages, duplicates and parameter URLs are supposed to be excluded. Focus on pages that should be indexed.
- Checking once and forgetting. A monthly look at Performance and Page indexing catches most problems early.
A 10-minute monthly routine
Once setup is done, a short monthly check is enough for most small sites:
- Open Performance, compare the last 28 days with the previous period, and note any page or query that dropped sharply.
- Open Page indexing and check whether the number of indexed pages changed unexpectedly. Click any new reason that appeared.
- Look at the Experience and Security sections for new warnings.
- Inspect one or two recently published pages to confirm they are indexed.
- Write down anything unusual with the date, so you can connect changes to site updates later.
How Site AI Audit fits alongside Search Console
Search Console shows how Google sees your site after the fact. Site AI Audit checks your site from the outside right now, crawling up to 50 pages on the free check and reporting SEO, speed, SSL, security header and e-mail authentication findings in one plain-language report, ranked by impact. Many owners use the audit to find and fix issues, then watch Search Console to see the effect. Run a free check alongside your new Search Console setup.
Related reading
- Why Is My Page Not on Google? A Step-by-Step Checklist
- XML Sitemaps Explained: How to Create and Submit One
- How to Write Title Tags: A Practical Guide for Small Sites
The bottom line
Setting up Search Console takes about fifteen minutes and gives you a free, direct view of how Google sees your site. Add a Domain property, verify it with a DNS TXT record you never remove, submit your sitemap, and check the Performance and Page indexing reports once a month. Make sure the business itself owns the property, and use URL Inspection whenever an important page seems to be missing.
الأسئلة الشائعة
Is Google Search Console free?
Yes, it is completely free. You only need a Google account and the ability to verify that you control the website.
How long until data appears in Search Console?
Usually within a few days of verification. Performance data covers only the period after the property was added, so older history is not available.
Does Search Console affect my rankings?
No. Adding your site does not change rankings. It gives you information and tools, such as sitemap submission and indexing requests, that help you fix problems.
What is the difference between Search Console and Google Analytics?
Search Console shows how your site performs in Google Search before people click. Analytics shows what visitors do on your site after they arrive, from all sources.
Can I verify a site built on Wix, Shopify or Squarespace?
Yes. These platforms offer built-in ways to add the verification meta tag, and you can use DNS verification if your domain’s DNS is managed where you can add records.